First, download the latest version of OpenVPN from the official OpenVPN community website. Choose either the 32-bit or 64-bit installer depending on your version of Windows (NOTE: Windows 8 makes it harder to “Run as Admin,” than previous versions, so MAKE SURE you do run the installation program AS ADMIN.)
Click this link to go to the download page.
URGENT: IMPORTANT: ACHTUNG!
Some Windows 8 users have reported issues with the install because of a requirement to have digitally signed drivers. BEFORE proceeding, you should follow the instructions in this link to disable the requirement to use digitally signed drivers — at least for this software install. You can turn it back on again after the install is complete if you like.
Disable Windows Digital Signature Requirement for Drivers
And here is another link if you would prefer another method:
Second Way to Disable Driver Signature Requirement in Windows 8.1
At this point, you can continue the installation process.
In your Downloads folder or on your Desktop (wherever you saved it), you should have the following file (or a newer one):

Right click and select “Run As Administrator”
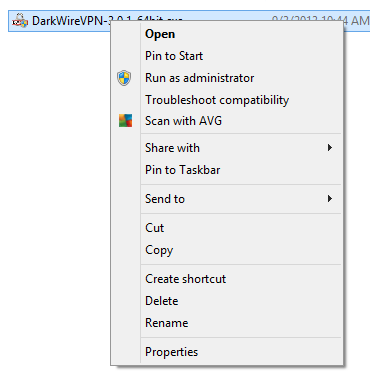
You will probably be prompted with “Do you want this program to make changes to this computer?” and you should answer “Yes”.
At this point, the installation wizard will start. Please click “Next.”

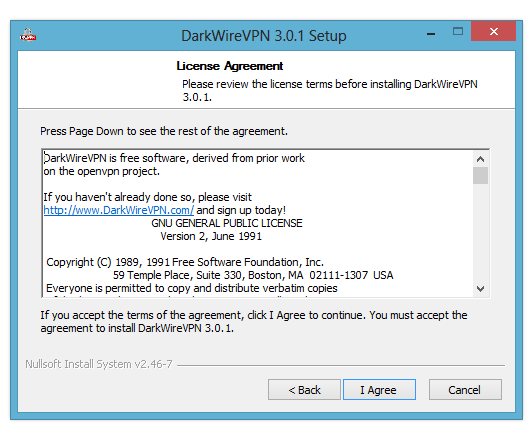
The License Agreement will open. Click “I Agree” to proceed.
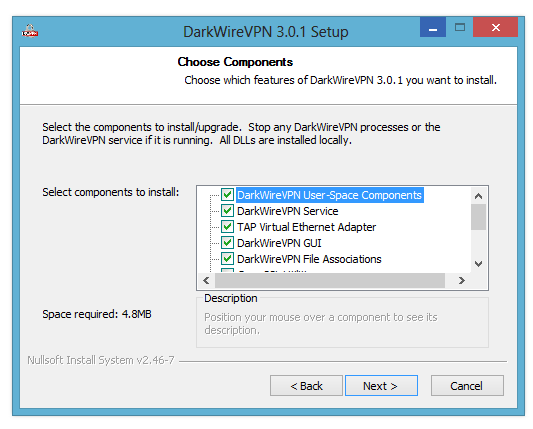
The next screen will be the component screen. Just click “Next”.
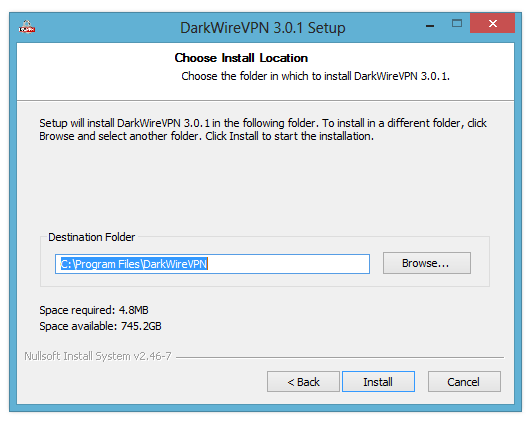
This will take you to the Path Setup screen. Here, you should just click “Install”.
On some previous version of Windows prior to Windows 7, you may be prompted to install the “TUN/TAP Driver” during the installation process. If so, just accept the driver.
When done, the installation window will show that it is done with the following screen. At this point, just click “Next.”

The following window will show that the installation is completed. Click “Finish” to view the README file. Alternately, you may uncheck the box to avoid reading the README file. Please note: some important changes to the program may be shown in that file. Close the README when you are finished with it.

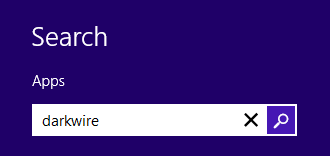
Go to Windows 8 Search. Type in “darkwire”
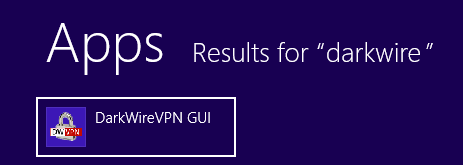
You should see the following DarkwireVPN icon under Apps on the left hand side:
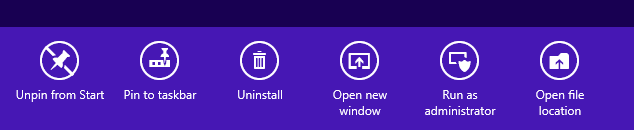
Right click on the DarkwireVPNGUI icon. Click “Pin to taskbar” at the bottom of the screen.
You should now see the DWVPN logo on the taskbar at the bottom of your Desktop. Click this icon to start the program.
You will then be prompted with a screen asking “Are you sure you want OpenVPN GUI to make changes to this computer?” Select “Yes.”
An icon for OpenVPN GUI will then appear in your system tray as two red monitors and a globe:

At this point, you have already been provided with a configuration file for OpenVPN. That file for this example will be named “a.darkwirevpn.com.ovpn”. It may have been provided in email, on a thumb drive, or other medium. Please browse to it and save that file somewhere on your computer. Once you do that, you can copy or move the file to the following path:
C:\Program Files\DarkWireVPN\config
You may be prompted with the following window. If so, please click “Continue” at this point.

You should now be able to see the file a.darkwirevpn.com.ovpn in that directory:

Setup is now complete and you should not need to repeat any of these steps again (unless something went wrong).
Connecting to the VPN
If everything installed correctly, you should now be able to right-click the OpenVPN system tray icon and click on “Connect.”

You will see many things scroll past quickly in the connection window as the VPN is negotiated. When it is completed, that window will disappear and the system tray icon will turn green and give a message that it has completed. At this point, you are now connected, and the VPN is running.

Should you find that you do NOT get a green system tray icon (it could be red or yellow also), please contact your Dark Wire VPN technical support (if this is an individual account) or your company’s IT Department (if this is a group account) to find out what to do next.
In order to disconnect from the VPN, simply right-click the system tray icon and go to “Disconnect.”

Once disconnected, your system is off the VPN.
VPN Status: How to Tell If Your VPN is Connected Properly
At this point, you may use the Internet with your new VPN connection. Should you wish to verify that you are using the VPN for web traffic, you can use the Support page entitled “Show My IP.” (Or you can visit any of the sites which show you your public IP address. One such site is http://www.whatismyip.com/.) You should load the page with the VPN disconnected and then try reloading the page after connecting with the VPN to compare the differences.
In order to see the status summary, just mouse-over the system tray icon:

If you need to see more detailed status information, right click the system tray icon and go to “Show Status.”

In the event of problems, you may be asked to scroll through that detailed status screen to look for problems.
