Until our new binary is released, this fix has been confirmed to work for customers using our customized Mac binary on Mavericks and Yosemite.
BACKGROUND:
Apple began testing a requirement that kernel extensions be signed with an Apple developer certificate with Mavericks. In Yosemite, they made this a firm requirement. Our customized binary is currently not signed with an Apple developer certificate. We also included kernel extensions which were released in the open source community prior to this requirement. This fix works by taking an updated and SIGNED Tun/Tap driver kernel extension package and installing it in place of our unsigned kernel extension tun/tap drivers.
THE FIX:
STEP ONE
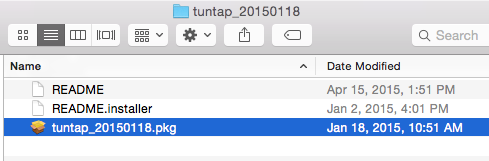
Download this file. tuntap_20150118.tar.gz You may also locate it at the original SourceForge link if you prefer to download it directly from their site.
Locate it in your Downloads folder and double-click it to extract it. You should see something like this:

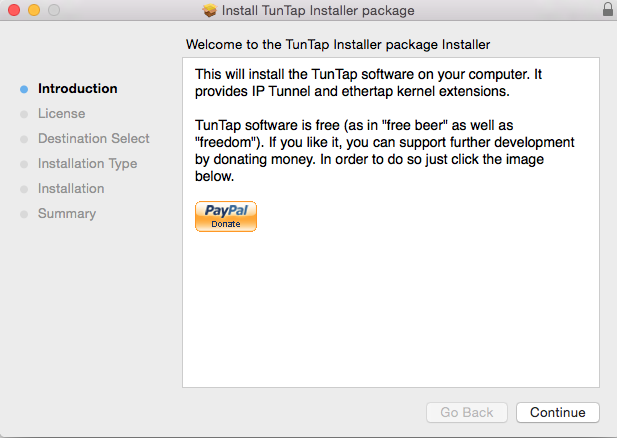
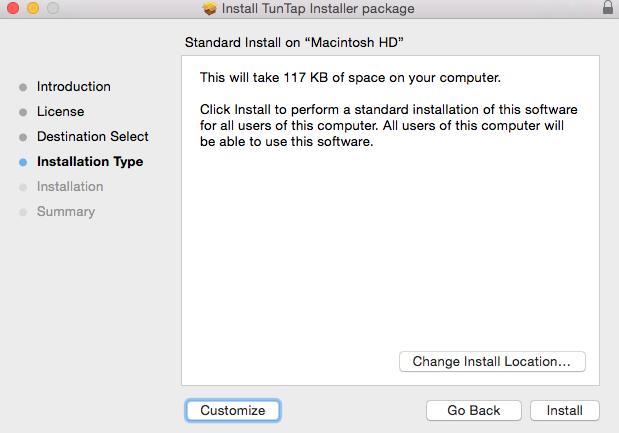
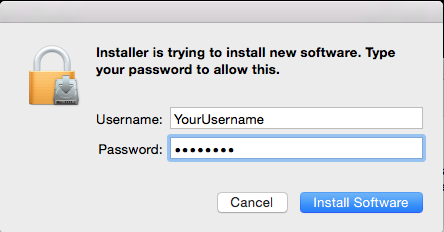
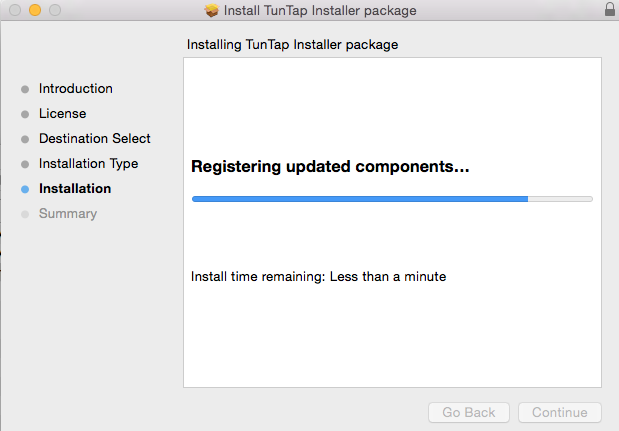
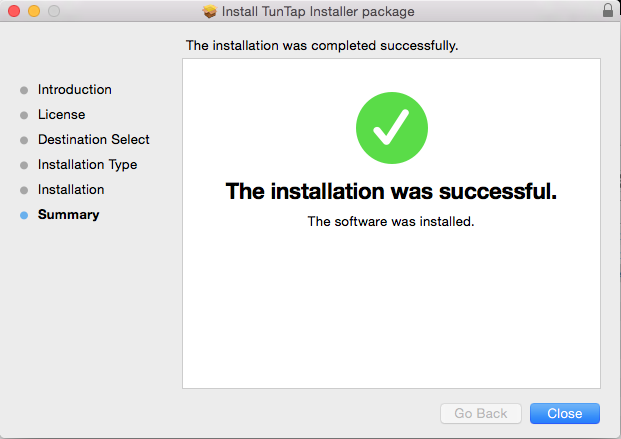
Open the folder once the extraction is complete. Double click on the .pkg file to begin the installation process. Follow the prompts to install the package.
STEP TWO:
Use the Spotlight search to find the program “terminal” and open it.

When the terminal window opens, type the following commands exactly as they appear. You have to hit Enter/Return after each command.
cd /Applications/Tunnelblick.app/Contents/Resources/
# This command changes the directory/folder to the location of the files we need to update.
sudo mv tun.kext/ tun.kext2
NOTE: You will be prompted to type your Mac password to run the sudo command. You may receive a warning that running sudo is dangerous and may cause your hair to turn grey prematurely. Or it may look like this: “WARNING: Improper use of the sudo command could lead to data loss
or the deletion of important system files. Please double-check your typing when using sudo.” The command above is moving (mv) the folder named tun.kext to a new name of tun.kext2 so Tunneblick will not use the old, unsigned drivers in it.
sudo cp -rp /Library/Extensions/tun.kext .
NOTE: Type exactly as you see or just copy/paste. Do NOT put a trailing slash (/) at the end of the tun.kext and before the final period (.) or it will not work correctly. This command is recursively copying (cp) the files from the tuntap package you just installed earlier to the current location (.) so Tunnelblick will use them.
exit
STEP THREE:
At this point, you should Quit Tunneblick and restart it. You can locate it using the Spotlight, or you can look for it in your Applications folder. If you get any warnings about the application being unsigned, tell it to not warn you about it in the future and Continue.
NOTE: If you are running El Capitan (10.11.x), you MAY not need to do this step. Try it without this step first.
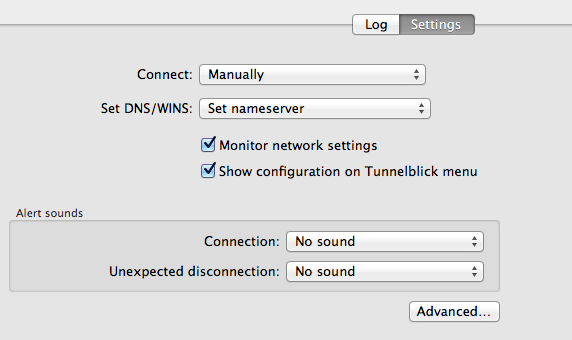
When the Tunneblick icon appears at the top right of your taskbar, click on it and choose “VPN Details.” Under the Settings tab for your VPN connection, change the menu item “Set DNS/WINS” from “Set nameserver” to “Set nameserver (3.1).” See images below.

You can hit the Connect button. The customized VPN application should work properly now.